Making a bow for a dog collar can be a fun and creative way to enhance your furry friend's style. Whether you want to add a touch of flair to their everyday look or dress them up for a special occasion, a bow can be a charming accessory for your dog. Making a bow for your dog's collar allows for customization and ensures that the bow perfectly matches your dog's personality and style.
To make a bow for a dog collar, you will need a few materials such as ribbon, scissors, and glue. In a step-by-step guide, you can easily create a bow by measuring and cutting the ribbon, folding it, securing the center, and creating the bow loops. Finally, you can attach the bow to your dog's collar for a stylish look.
For those who prefer ready-made options or want to explore alternatives to making a bow from scratch, there are options available. Ready-made bow attachments can be easily attached to a dog collar without any hassle, saving you time and effort. Alternatively, fabric flower embellishments can also be used to add a touch of elegance and charm to your dog's collar.
By making a bow for your dog's collar or exploring alternative options, you can add a unique and personal touch to their wardrobe. So why not unleash your creativity and make your furry friend the most stylish dog on the block?
Why Make a Bow for a Dog Collar?
Looking to up your canine fashion game? Discover why making a bow for your dog's collar is a must. From enhancing your dog's style to making them the star of special occasions, these sub-sections will have you unleashing your inner designer and creating pawsome accessories that are sure to turn heads. So, grab your materials and prepare for a tail-wagging fashion adventure for your furry friend!
Enhancing Your Dog's Style
Enhancing your dog's style can be a fun way to add some flair to their appearance. Whether you're simply looking to make them stand out during their daily walks, or if you have a special occasion coming up, there are several options to enhance your dog's style.
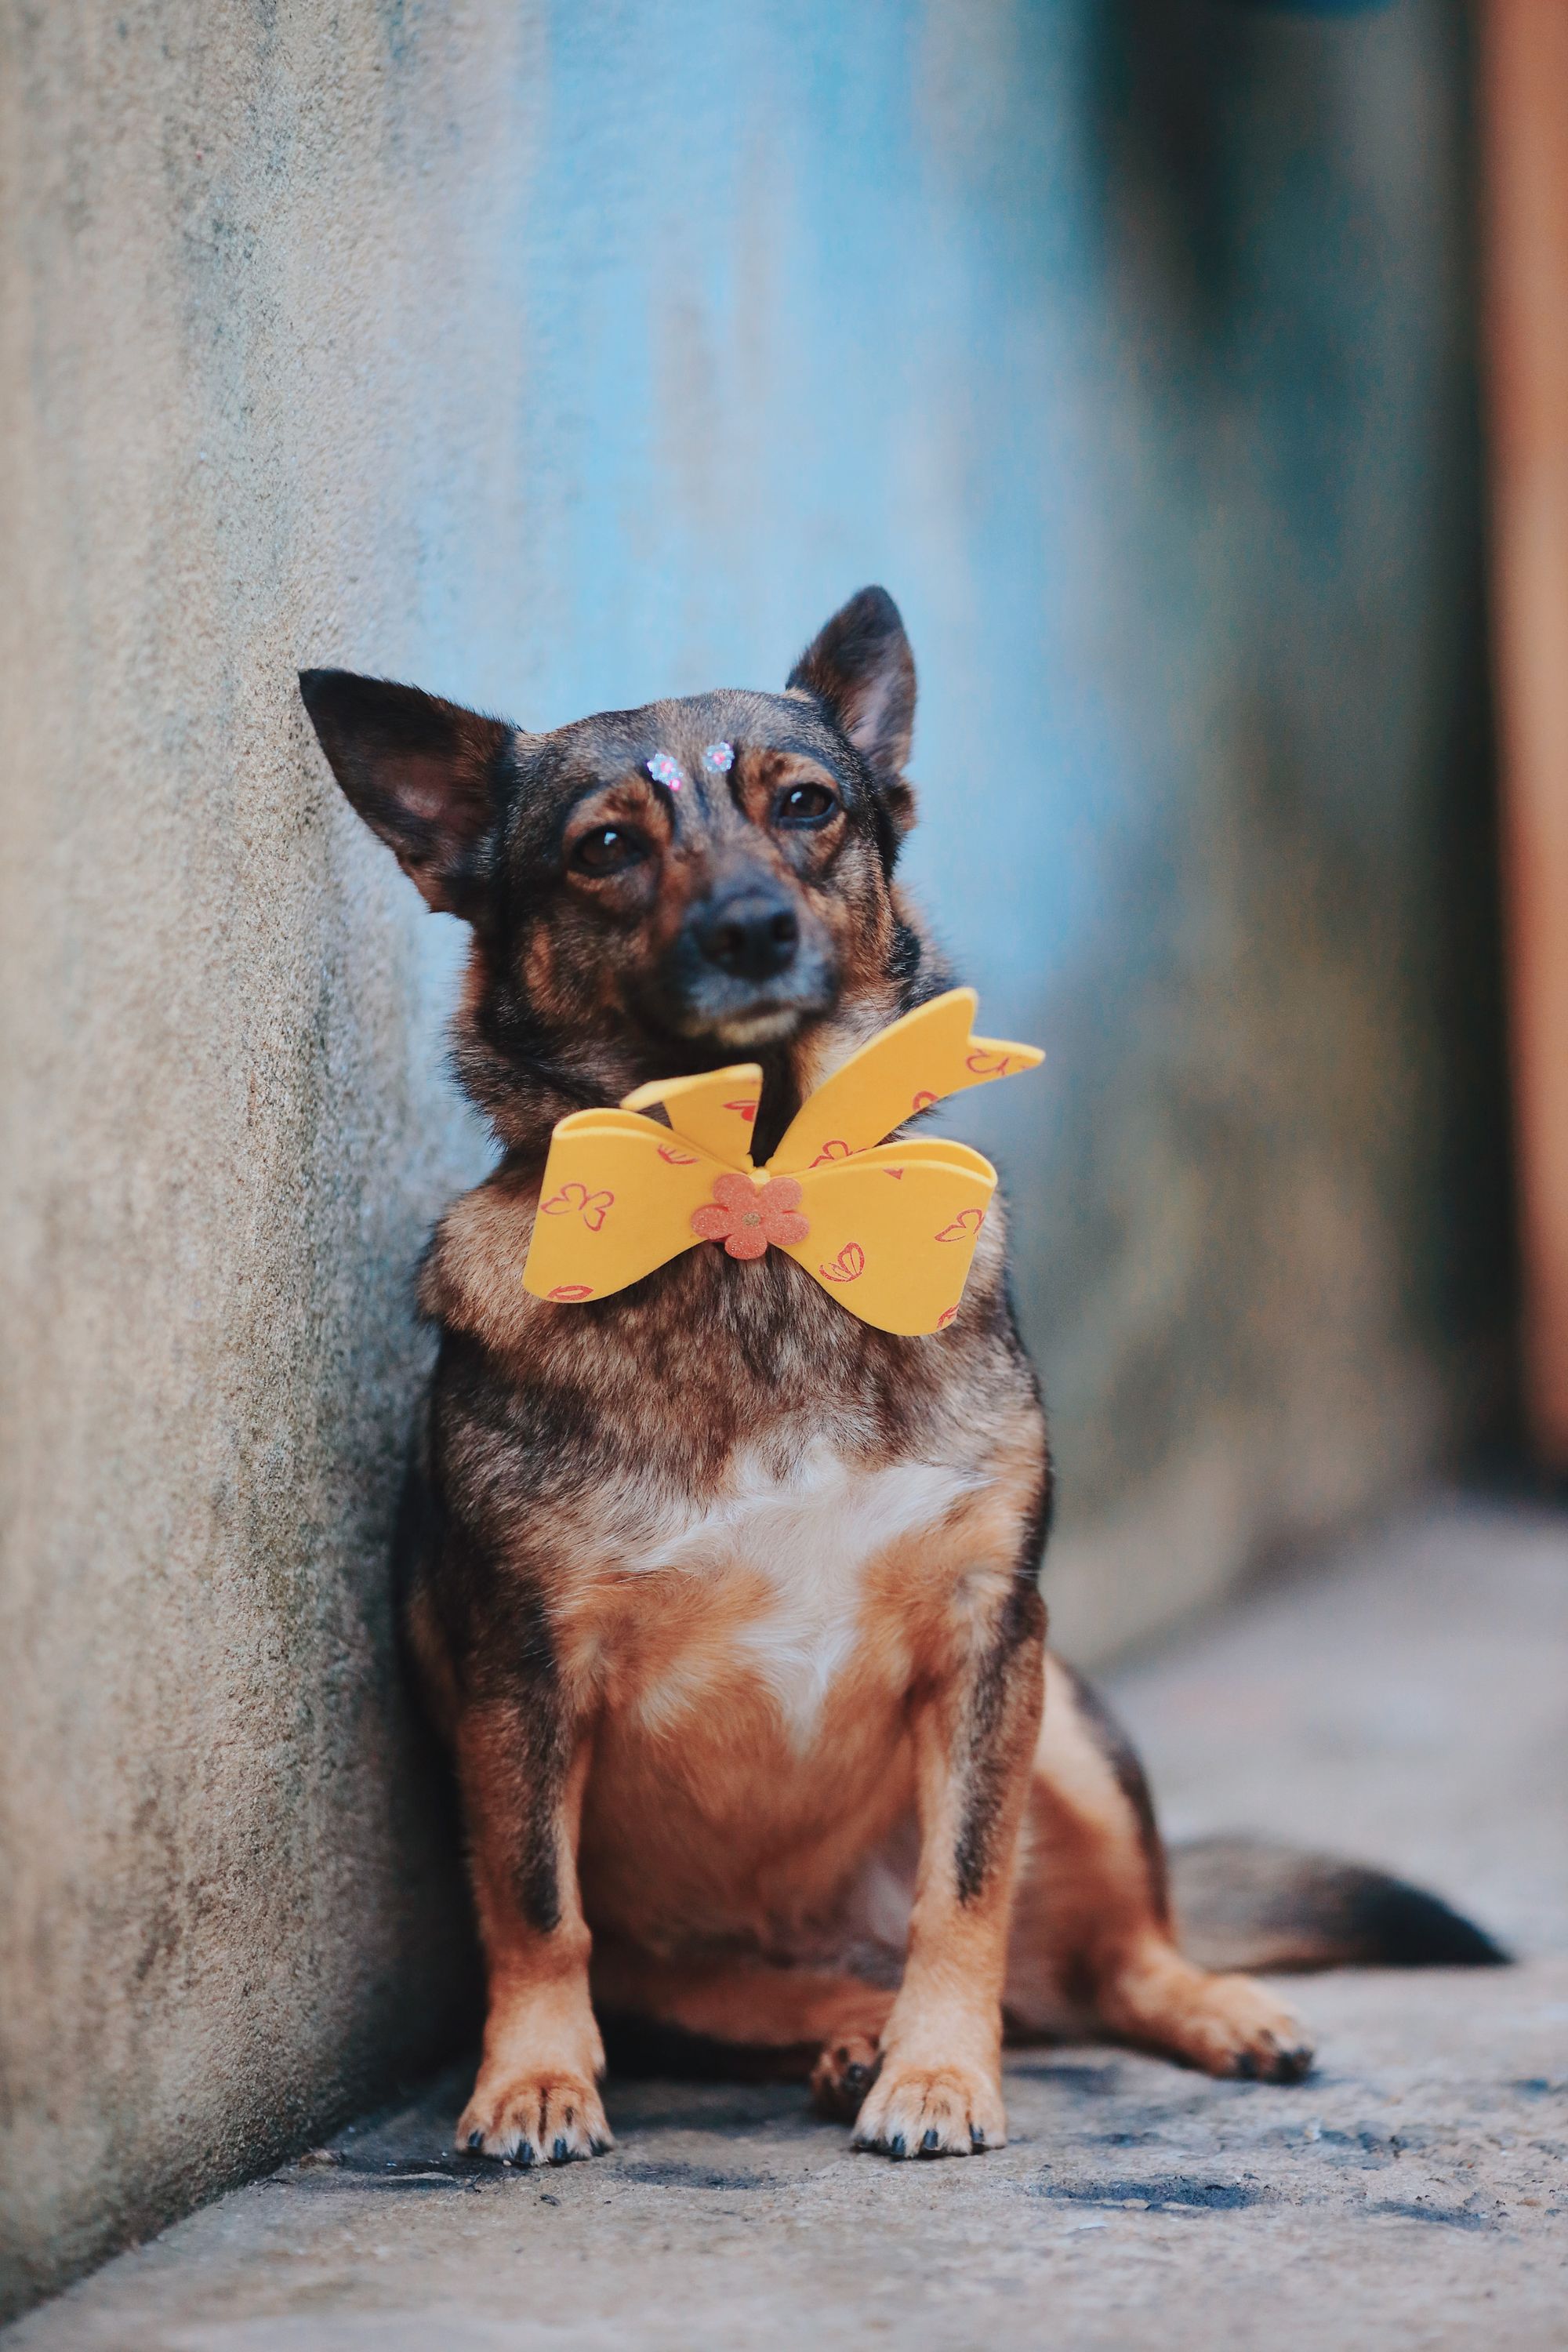
- Hair bows: Hair bows are a popular choice for enhancing your dog's style and adding a touch of elegance. These small bows can be easily attached to your dog's collar or placed in their hair for a cute and fashionable look.
- Bandanas: Bandanas come in a variety of colors and patterns, allowing you to choose one that matches your dog's personality and enhances their style. These can be worn around the neck or even tied onto their collars for a stylish accessory.
- Collar charms: Collar charms are a great way to enhance your dog's style and add a little bling to their collar. You can find charms in various shapes and designs, such as hearts, stars, or even their initials.
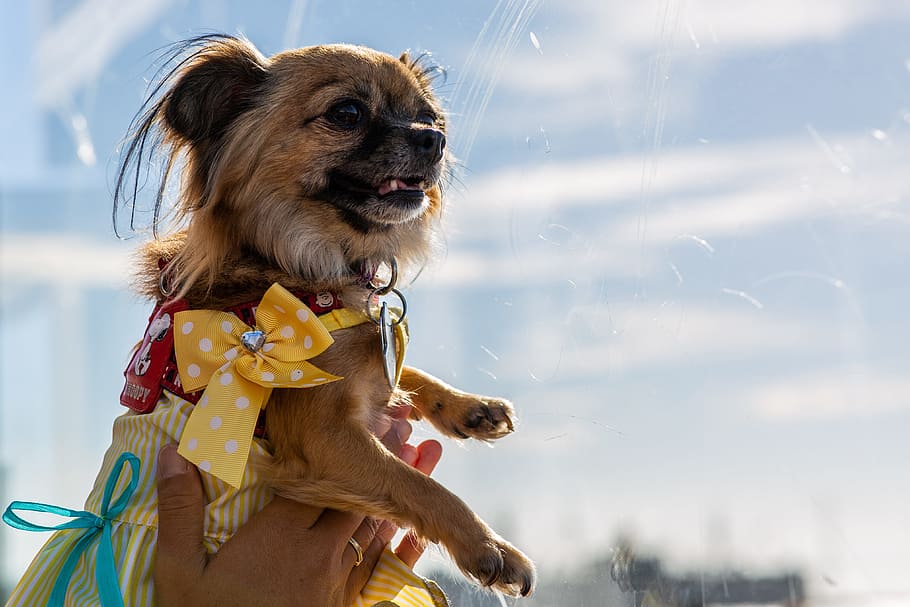
- Clothing: Dressing up your dog in clothing can be a fun way to enhance their style and make them stand out. From t-shirts and hoodies to dresses and costumes, there are endless options to choose from to suit your dog's personality and the occasion.
Incorporating accessories and clothing into your dog's style can help them stand out and express their unique personality. Whether you're going for a formal look or a more casual style, there are plenty of options to choose from to enhance your dog's style and make them the talk of the town!
Dogs have been companions to humans for thousands of years and their roles have evolved over time. Initially domesticated for hunting and guarding, dogs gradually became beloved members of households, and their style became important to their human companions. People started accessorizing their dogs to match their own fashion choices, enhancing their dog's style as an expression of their own personality and taste.
From traditional breed-specific outfits to designer collars and accessories, enhancing a dog's style has become a popular trend among dog owners. Today, dogs are seen as fashion icons and inspiration for pet fashion brands. They are no longer just pets; they are fashion icons, adding a touch of style and personality to their human's lives and enhancing their own identity.
Special Occasions
- Birthdays: On your dog's birthday, you can make a special occasion bow for their collar to celebrate the occasion. It adds a festive and fun touch to their overall look.
- Holidays: Special occasions like Christmas, Halloween, or Easter call for themed accessories. Making a bow that matches the holiday's theme can make your dog feel more involved in the festivities.
- Weddings: If your dog is going to be a part of a wedding, whether as a guest or as a participant, a bow can enhance their appearance and make them look more elegant and formal.
- Adoptions or Gotcha Days: Special occasions like the day you adopted your dog or their anniversary with you deserve a celebration. Adding a bow to their collar can mark the significance of the day.
- Family Gatherings or Parties: If you're attending a family gathering or party with your dog, a bow on their collar can make them look festive and stylish. It's a great way for them to join in on the fun.
Materials Needed
When making a bow for a dog collar, there are a few materials needed to complete the project:
- Ribbon - Choose a ribbon of your choice, preferably in a width that suits the size of the dog collar. Around 1 inch wide would work well.
- Scissors - You will need a pair of sharp scissors to cut the ribbon to the desired length and shape.
- Needle and thread - To secure the bow and prevent it from unraveling, a needle and thread will be required. Choose a thread that matches the color of the ribbon.
- Hot glue gun (optional) - If you want to add embellishments or attach the bow to the collar using a clip, a hot glue gun can come in handy.
Now, let's dive into a true history about the significance of bows for dog collars.
In ancient Egypt, bows were not only a fashionable accessory for dog collars but also had symbolic meanings. It was believed that bows protected dogs from evil spirits and brought good luck to their owners. The size and color of the bows were carefully chosen based on the dog's breed, age, and social status of their owners. Dog owners took great pride in selecting the most exquisite bows for their beloved pets.
As time passed, the tradition of adorning dog collars with bows spread to other parts of the world. It became a way to showcase a dog's unique personality and style. Whether it's a simple and elegant bow or a vibrant and playful one, bows continue to be a beloved accessory for dog collars, symbolizing the deep bond between dogs and their human companions.

Step-by-step Guide on Making a Bow for a Dog Collar
Looking to add a touch of charm to your furry friend's collar? This step-by-step guide will walk you through the process of creating a beautiful bow for your dog's collar. From measuring and cutting the ribbon to attaching the finished bow, you'll learn how to turn a simple material into a stylish accessory. So, grab your ribbon and let's get started on making your pup's collar look pawsitively fabulous!
Step 1: Measure and Cut the Ribbon
To measure and cut the ribbon for making a bow for a dog collar, follow these steps:
Step 1: Measure the ribbon - Start by measuring the length of the dog collar. Add a few extra inches to allow for folding and securing the bow. For example, if the collar length is 10 inches, you may want to cut a ribbon that is around 14 inches long.
Step 2: Cut the ribbon - Use sharp scissors to cut the ribbon according to the measured length. Make sure the ends are clean and straight for a neat finish.
Suggestions for cutting the ribbon:
- Use a ruler or measuring tape to ensure accuracy in your measurements.
- Consider using a ruler with a built-in rotary cutter for straight and even cuts.
- If you prefer a more decorative look, you can use pinking shears to cut the ribbon, which will create a zigzag pattern along the edges.
Remember to work in a well-lit area and take your time to ensure precise measurement and cutting of the ribbon.
Step 2: Fold the Ribbon
To fold the ribbon when making a bow for a dog collar, simply follow step. Begin by holding the ribbon horizontally in front of you, ensuring that the patterned side is facing up. Take the left end of the ribbon and fold it diagonally towards the center, creating a triangle shape. Hold the folded end in place with your thumb or finger. Next, take the right end of the ribbon and fold it diagonally towards the center, overlapping the previously folded end.
Adjust the folds as needed to ensure that the ribbon forms an even, symmetrical bow shape. Once you are satisfied with the shape, secure the folded ribbon in place by applying a small amount of fabric glue or using a needle and thread to make a stitch through the center of the bow. Allow the glue to dry or tie off the thread securely. And voila, you have successfully folded the ribbon to create a bow for the dog collar!
Step 3: Secure the Center of the Bow
When making a bow for a dog collar, Here is a step-by-step guide on how to do it:
- Take the folded ribbon from Step 2 and hold it in the center.
- Use a small piece of double-sided tape or a dab of fabric glue to securely fasten the center of the ribbon.
- Press the ribbon firmly to ensure it sticks together.
- If using fabric glue, allow it to dry according to the instructions on the packaging before proceeding.
- This step ensures that the bow maintains its shape and does not come undone.
Securing the center of the bow is an important step as it holds the entire bow together. By following step you can create a sturdy and attractive bow for your dog's collar. Remember, when using fabric glue, it is essential to handle it with care and follow the instructions provided.
This will ensure that the bow remains securely fastened and lasts longer. By carefully securing the center of the bow, you can add a stylish and eye-catching accessory to your dog's collar for various occasions or simply to enhance their style.
Step 4: Create the Bow Loops
- To create the bow loops for a dog collar bow, follow these steps:
- Take the ribbon and fold it in half, matching the ends together.
- Hold the folded end of the ribbon and bring the two loose ends towards the center.
- Create a loop with one end of the ribbon by folding it back in the opposite direction.
- Hold the loop in place, then create another loop with the other end of the ribbon, folding it in the same direction as the first loop.
- Adjust the loops to make sure they are the desired size and shape.
- Take the loose ends of the ribbon and wrap them around the center of the loops, going from top to bottom.
- Tuck the loose ends under the wrapped section to secure the loops in place.
- Adjust the loops and the tails of the bow to make them even and symmetrical.
The history of making bows for dog collars can be traced back to the ancient Egyptians. They adorned their dogs with elaborate collars and bows as a way to show their appreciation for these loyal companions. Over time, the tradition of decorating dog collars with bows evolved, and people began to create bows using various materials and techniques.
Nowadays, making bows for dog collars has become a popular craft activity for pet owners who want to add style and flair to their furry friends' appearance. It not only enhances the dog's style but also allows for customization on special occasions. Whether it's for a holiday celebration, a photo shoot, or simply to make your dog stand out from the pack, creating a bow for a dog collar is a fun and creative way to show your love and care for your canine companion.
Step 5: Attach the Bow to the Dog Collar
To attach the bow to the dog collar, follow these steps:
- Take the dog collar and the completed bow.
- Locate a secure spot on the collar where you want to attach the bow.
- Take the center knot of the bow and position it over the chosen spot on the collar.
- Wrap the loose ends of the bow around the collar.
- Tie a tight knot at the back of the collar to securely attach the bow to the dog collar.
Make sure the bow is centered and positioned where you want it on the collar. Ensure that the knot is tied securely so that the bow doesn't come loose while your dog is wearing it.
Tips for Making the Perfect Bow
Looking to make the perfect bow? Here are some useful tips:
- Select the right ribbon: To achieve the ideal size of the bow, choose a ribbon that suits your needs. Satin or grosgrain ribbons are excellent options.
- Measure and cut the ribbon: Determine the length you desire for the tails and loops of your bow, and cut the ribbon accordingly.
- Create the loops: Take one end of the ribbon and fold it over to form a loop. Hold the center of the loop with your fingers, and repeat the same step with the other end of the ribbon.
- Secure the center: Use a small piece of wire or a pipe cleaner to tightly wrap around the center of the folded ribbon. This will hold it in place.
- Fluff and shape the loops: Gently pull and adjust the loops to achieve the desired fullness and shape of your bow.
- Add finishing touches: Trim any excess ribbon from the tails and make any necessary adjustments to the shape of the loops.
Did you know that bows have been used as decorative elements for thousands of years? With their origins dating back to ancient Roman times, they still symbolize elegance and adornment today.
Alternatives to Making a Bow
Looking for creative alternatives to making a bow for your furry friend's collar? Look no further! In this section, we'll explore two exciting options: ready-made bow attachments and fabric flower embellishments. Get ready to discover trendy and effortless ways to add a touch of style to your pup's outfit. Whether you're short on time or craving a unique flair, these alternatives will give your dog's collar a fresh and fashionable look. Prepare to unleash your creativity!
Ready-Made Bow Attachments
When it comes to accessorizing your dog's collar, ready-made bow attachments, also known as pre-made bow attachments, can be a convenient and stylish option. These ready-made bows are specifically designed for dog collars, making them a hassle-free way to enhance your dog's style. Here are some reasons why ready-made bow attachments are a great choice for your furry friend:
1. Convenience: Ready-made bow attachments offer convenience by saving you time and effort. They come already pre-designed and ready to be attached to your dog's collar. You don't have to worry about measuring, cutting, and assembling the bow yourself.
2. Variety: There is a wide range of ready-made bow attachments available in terms of colors, patterns, and materials. This variety allows you to easily find a bow that matches your dog's personality and style.
3. Durability: Many ready-made bow attachments are made from high-quality materials that are designed to withstand wear and tear. This ensures that the bow will stay securely attached to your dog's collar without getting easily damaged.
4. Interchangeability: Ready-made bow attachments are often designed with a loop or clip that can be easily attached and removed from the dog collar. This gives you the flexibility to swap out bows depending on the occasion or your dog's mood.
5. Cost-effectiveness: Ready-made bow attachments are generally affordable, especially when compared to the cost of buying all the materials and making the bows yourself. They provide a cost-effective way to add some flair to your dog's collar.
In summary, ready-made bow attachments offer convenience, variety, durability, interchangeability, and cost-effectiveness. They are a simple and stylish way to elevate your dog's look and enhance their collar. So, consider these options when looking to accessorize your furry friend's collar with a bow attachment.
Fabric Flower Embellishments
Using fabric flower embellishments is an innovative and artistic way to enhance your dog's collar. These embellishments can effortlessly bring a splash of color and style to your dog's accessory.
They are an ideal choice for commemorating special occasions like weddings, birthdays, or holiday celebrations. For creating fabric flower embellishments, gather fabric scraps, a needle, thread, and scissors.
- Step 1: Cut out various flower shapes from the fabric scraps, incorporating different sizes and colors for a touch of diversity.
- Step 2: Skillfully fold the petals of each flower, resulting in a captivating three-dimensional effect.
- Step 3: Expertly stitch the center of the flower together using a needle and thread, ensuring it remains secure.
- Step 4: Affix the fabric flower to your dog's collar either by sewing it or utilizing a fabric adhesive.
Fabric flower embellishments offer an exceptional way to personalize your dog's collar and make it truly distinctive. You can explore a wide range of fabrics and patterns to perfectly match your dog's unique style and personality. Adorning your dog's collar with fabric flower embellishments showcases their individuality in a playful and imaginative manner.
Frequently Asked Questions
How do I make a bow for a dog collar with pointed tails?
To make a bow for a dog collar with pointed tails, you will need the following materials: quilting cotton or fabric scraps, lightweight fusible interfacing, braided elastic, thread, sewing machine, fabric scissors, hot glue gun, glue sticks, fray check seam liquid, and cardstock for pattern pieces. Download the DIY Dog Collar Bows pattern, which includes instructions on how to print and assemble the pattern pieces.
Follow the step-by-step instructions in the tutorial to cut the fabric pieces, sew the elastic to the back pieces, fuse interfacing to all pieces, sew the back pieces to the bow main, fold and sew the bow pieces into a tube, fold and glue the sides of the bow, sew and turn the tail piece, and finally assemble the bow by pinching and wrapping the components together. The tutorial provides detailed guidance on creating the bow with pointed tails.
Can I use the bow patterns for other projects like hair bows for kids?
Absolutely! The bow patterns provided in the tutorial can be used for various projects, including making hair bows for kids. The tutorial suggests using these bow patterns for accessories for bags or dresses as well. The versatility of the patterns allows you to get creative and adapt them for different purposes.
Where can I find the pattern download for the dog collar bows?
The pattern download for the DIY dog collar bows is available in the tutorial. It provides two sizes for the dog sailor bow: a larger size recommended for larger dogs or as a gift bow, and a smaller size suitable for smaller dog breeds or cats. The download also includes instructions on how to print and assemble the pattern pieces. Simply follow the tutorial and access the pattern download to get started.
How do I secure the DIY dog collar bow onto my pet's collar?
The DIY dog collar bows come with elastic on the back to secure them onto the collar. Once you have completed the bow following the instructions in the tutorial, simply slide the collar through the elastic loop on the back of the bow. This will keep the bow securely attached to your pet's collar.
Can I make DIY dog bow ties for my local animal shelter?
Absolutely! The tutorial encourages readers to make DIY dog bow ties for their local animal shelter as a way to support a good cause and help pets get adopted. By creating and donating these bow ties, you can provide a touch of style to the shelter animals and potentially increase their chances of finding forever homes.
What materials do I need to make a sleek, dapper bow tie style attachment for my dog's collar?
To make a sleek, dapper bow tie style attachment for your dog's collar, you will need quilting cotton or fabric scraps, lightweight fusible interfacing, braided elastic, thread, sewing machine, fabric scissors, hot glue gun, glue sticks, fray check seam liquid, cardstock for pattern pieces, and the DIY Dog Collar Bows pattern download. Follow the tutorial's step-by-step instructions to create a stylish bow tie attachment that will give your dog a sophisticated and fashionable look.
